
![]() Remove any dirt or grime. Rinse the nameplates thoroughly with clean water and dry them with a soft cloth.
Remove any dirt or grime. Rinse the nameplates thoroughly with clean water and dry them with a soft cloth.
Apply a coat of protectant or UV blocker: Apply a coat of protectant or UV blocker to the nameplates to protect them from the sun's harmful rays. This will help prevent fading and cracking of the material.
![]() Look out for dents, scratches, or missing letters. Address any issues promptly to prevent them from getting worse.
Look out for dents, scratches, or missing letters. Address any issues promptly to prevent them from getting worse.
![]() When parking the car, try to avoid leaving it in direct sunlight or in areas with high humidity, as this can cause the nameplates to warp or rust.
When parking the car, try to avoid leaving it in direct sunlight or in areas with high humidity, as this can cause the nameplates to warp or rust.
![]() Regularly check the nameplates for any signs of rust or corrosion and address them promptly.
Regularly check the nameplates for any signs of rust or corrosion and address them promptly.
![]() to ensure that the joints and moving parts are operating smoothly and to prevent any wear or damage.
to ensure that the joints and moving parts are operating smoothly and to prevent any wear or damage.
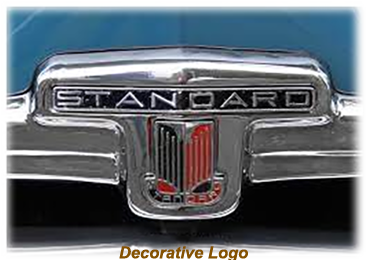
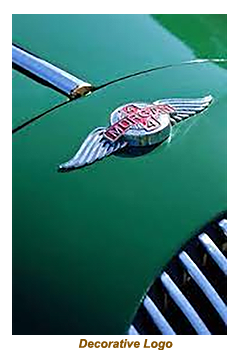
 Any chrome nameplates that have remained in tip-top condition and are neither of cracked or pitted, all that is required to restore their lustre is to go over the surface using very fine 0000-grade steel wool, which will not scratch. If necessary, use a fine silver polish can be applied.
 If the emblem has been marked by a meeting with either paint or rubber, applying either tar or adhesive remover should quickly remove them.
More stubborn marks can often be erased with a soft cloth and acetone or lacquer thinner. If the trace remains after using one of these solvents using a polishing compound will do the job.
Cleaning the damaged area begins with applying soap and water to remove any surface dust. When dried, the next stage is to apply the rubbing compound to which should be rubbed in a circular manner until the mark is gone, after which . some back-and-forth wiping motion will remove the circular buffing lines. .
To complete the cleaning process, the area should be given a firm polish to eliminate any fine scratches made by the rubbing compound.
Before applying fresh colour, chipped or scratched areas must be cleaned down to bare, smooth metal. If the paint on your emblem is really bad, you may need to use paint stripper to fully clean out the areas. Sandblasting, especially on chrome surfaces is not recommended is it will more than likely damage the plating. On the other hand, access to an air compressor , especially one with a clean-up nozzle will make a major difference, removing build-up of all manner of foreign bodies out of the tightest areas.
After removing the old paint, the surface should be carefully with paint thinner and wiped with a clean cloth The surface should then be allowed fully dry before being cleaned soap and water and then dried The emblem should be ready to accept new colour at this time.
 Paint for the nameplates should be easily available in original colours from a main dealer of the particular manufacturer, and sometimes the original model. If the original paint is not available , it might be worth visiting a local hobby centre with the emblem or nameplates and try and match the colour there.
Once the painting is about to commence, the first step is to make sure the paint is fully mixed and thin enough to flow. After that a small amount of paint should be added to the end of the bristles of a fine pointed paintbrush.
The point should be carefully positioned within the area to be painted.
Even when the nameplates were hot of the production line, they were often far from perfect, so it would be a waste of time and effort to create an absolute masterpiece.
 It should always be remembered that car nameplates and trim are rarely viewed from close up, so there is a fair leeway to cross. Maintaining original classic car nameplates are a mission that an owner can take a lot of pride in achieving, and it’s worth the effort of retaining a unique piece on the classic car.
et4


